Write your own Study - Basics and Beyond
After you created a new study ... what comes next?
Developement of a JATOS study usually happens on your local JATOS: Run an experiment with JATOS - Workflow
Add a component
If you have an empty study you want to add a component. A component corresponds to a webpage defined by an HTML file. A study can have more than one component - this is actually a strength of JATOS: e.g. one can combine different experiments into one, or easily add an survey to an existing experiment.
To add a component go to your study page and click on New Component.

Then in the following form you define the component's 'Title' and most importantly its 'HTML file path' (This is the path to the HTML file that starts this component).

Click on Add and you are done. You can change the component's properties by clicking on 'Properties' in the component's row. If you add more than one component you can change the order in which they run by drag-and-drop on the position button.

Study assets
All your files (e.g. HTML, CSS, JavaScript and media files) go into your study assets directory. That includes all component's HTML files. You can find the study assets directory in a directory called study_assets_root in your JATOS installation directory. You can change the study assets directory's name in the study properties, but it's usually not necessary.

Mandatory lines in your components' HTML
A study can have one or multiple components and each component has an HTML file associated that is defined in the component's properties.
Here is the absolute minimum that any component HTML file must have to run with JATOS:
A link to the jatos.js library in the head section
<html>
  <head>
    <script src="jatos.js"></script>
  </head>
</html>
The second bit is not really necessary but without defining the
jatos.onLoadcallback function you won't be able to use most of jatos.js' features. Of course you could start right away with any JavaScript but if you want to use jatos.js' variables and functions you have to wait until jatos.js is finished initializing.<script>
jatos.onLoad(function() {
// Start here with your code that uses jatos.js' variables and functions
});
</script>
Save your result data
You probably want to save the data that is collected during your experiments. There are generally two ways to do this: 1) result data or 2) result files - and there is a documentation page about it.
jatos.js Reference
In your JavaScript you will use jatos.js to handle everything JATOS related and in its reference every function and field is described in detail.
Study input and component input
Your experiment is defined by its source code, its HTML, JavaScript and CSS. There you specify all text or parameters. But sometimes you want to be able to quickly change your experiment without touching the source code.
E.g. you want to be able to quickly change
- an introductory text
- the number of trials
- some parameter needed in the experiment
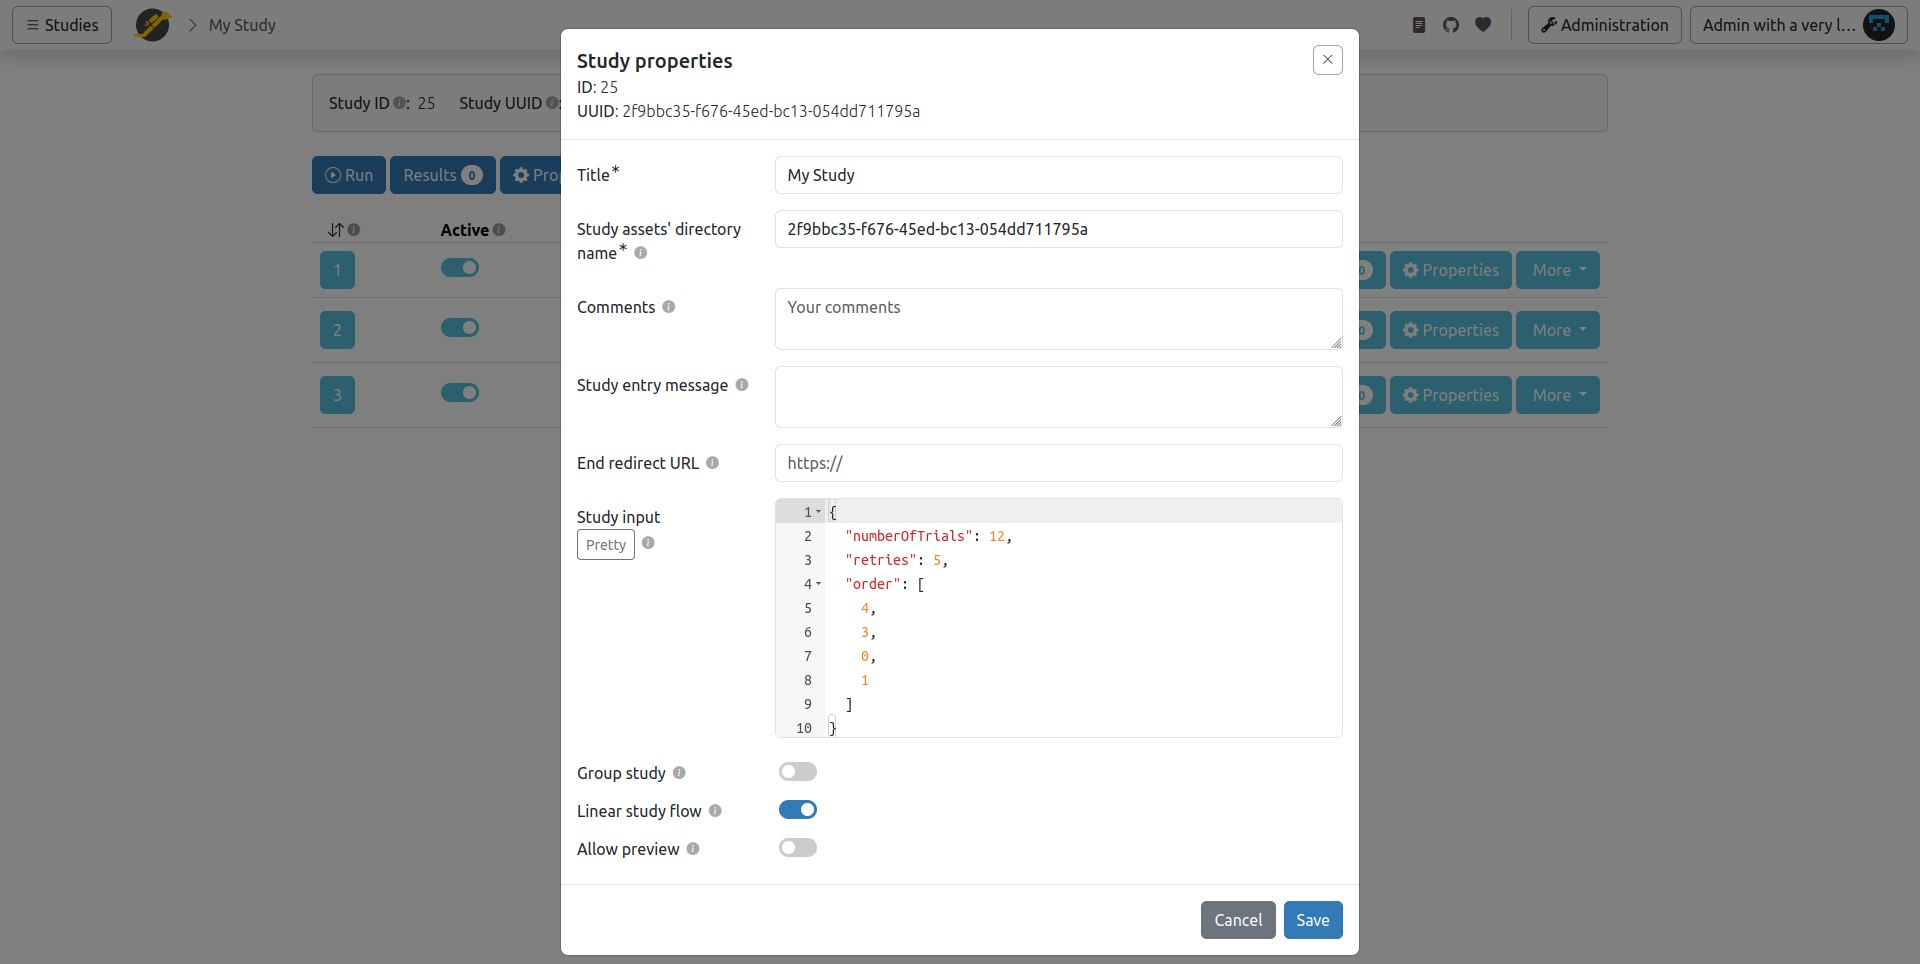
This you can achieve with the "Study input" or "Component input" (in older JATOS versions they are called "Study JSON Input" and "Component JSON Input") because both can be easily edited in the study properties or component properties.

Both input fields take JSON and the data you put in there is then available in your study's JavaScript via jatos.studyJsonInput and jatos.componentJsonInput.
The difference between the study input and component input is that the first one is available during the whole study run, in all components, and the latter one only in the component for which it is specified.
Example:
If you put the following in the study input
{
  "numberOfTrials": 12,
  "retries": 5,
  "order": [
    4,
    3,
    0,
    1
  ]
}
you can access those fields in your JavaScript with jatos.studyJsonInput.numberOfTrials, jatos.studyJsonInput.retries and jatos.studyJsonInput.order.
Study / batch / group session
The sessions are there to help you exchange data within a study, batch or group. The study session allows to pass on data within the same study run, from one component to the next. With the batch session one can transfer data between study runs that belong to the same batch. There is a whole page dedicated to those sessions: Session Data - Three Types.
Group studies
JATOS allows group studies in which several participants can work together on the same experiment and exchange data in real-time. To get an idea it's best to start with examples, then one can go on to write them: Write Group Studies I - Setup and Write Group Studies II - JavaScript and Messaging.